5 Increasing Engagement with Nearpod
Shannon Webb
Introduction
Nearpod is an online presentation and engagement platform that allows professors and students to engage with one another, record completion and track overall participation. There are a variety of tools (quiz, draw it, virtual field trip, matching, collaborate etc.) included in the one-stop platform, and because it’s web-based, it can be accessed from anywhere. Nearpod integrates with Google Slides for those who already have their slides created in that format.
Nearpod has a tiered subscription system, starting at a free level and ranging to a school-wide subscription. Each tier includes a variety of benefits, tools and the number of students who can engage increases. Depending on class size, the free tier can suffice.
Nearpod allows students to connect to the presentation with a unique code. Students are not required to use any login credentials, they simply enter in their name or other identifier. This allows students to engage with the content from their device.
Nearpod helps to engage learners through the various activities, which also lend themselves well to Universal Design for Learning; allowing students to engage how they prefer and in a variety of ways.
Resources
- Internet-enabled device (laptop, tablet, phone etc.)
- Email address
- Nearpod web-based platform: www.nearpod.com
Steps for Implementation
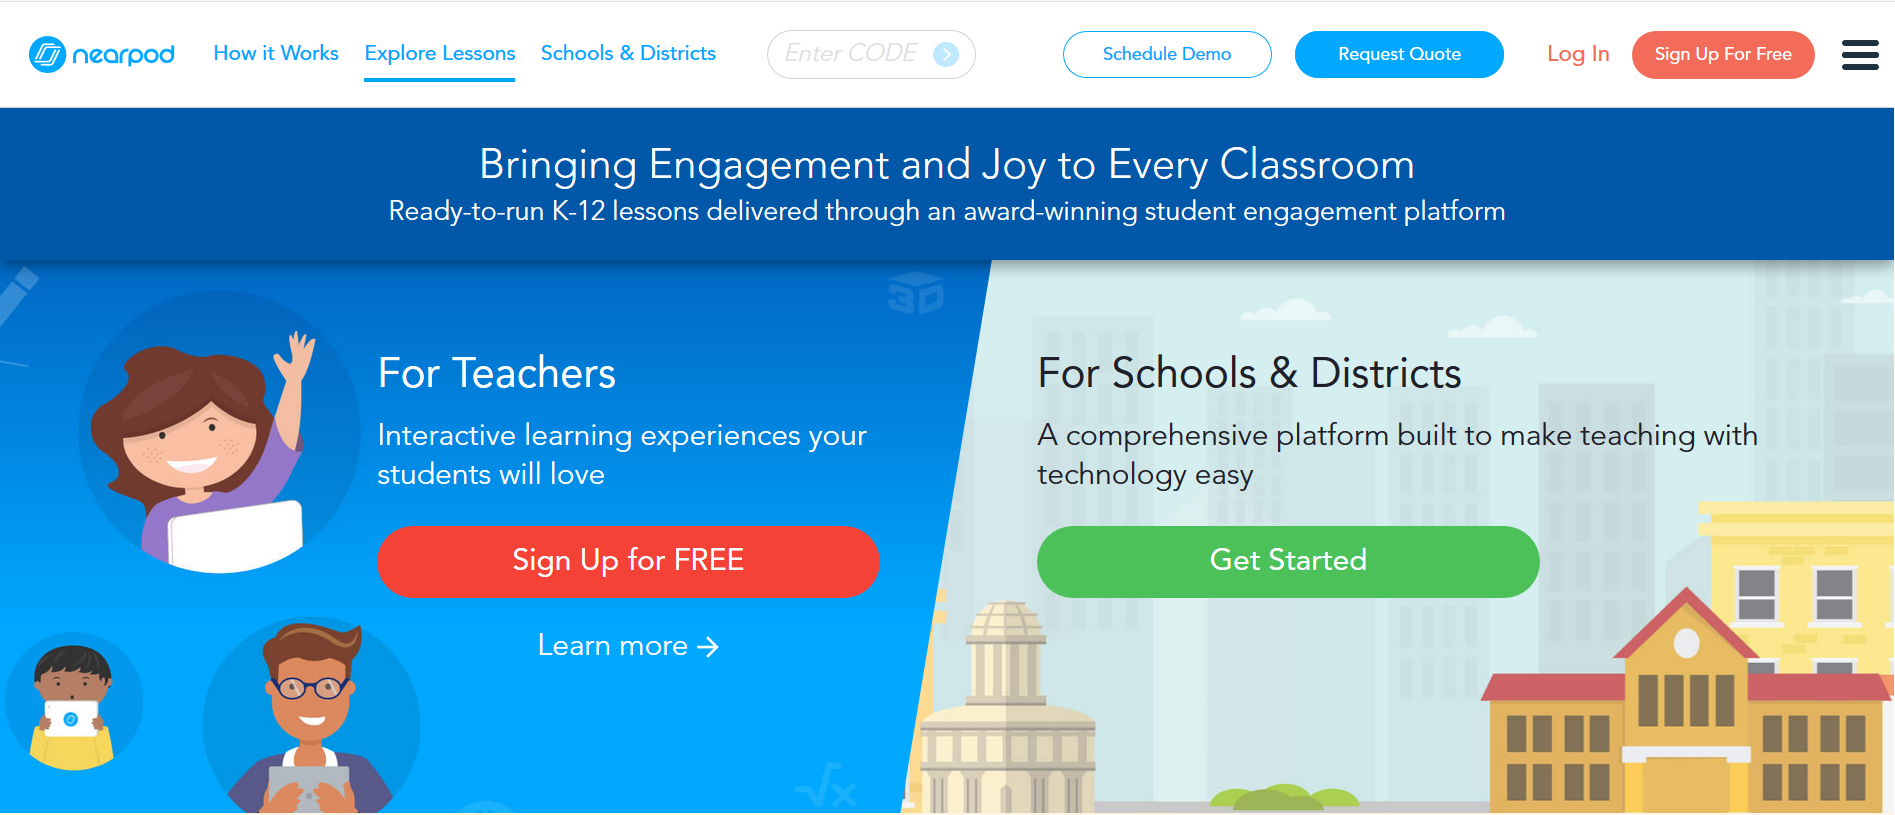
Step 1. Navigate to the Nearpod website & Sign Up
Type www.nearpod.com into your preferred browser. This will bring you to the Nearpod homepage, where you can sign up for an account. In the top right corner of the webpage click the button that says “Sign Up for Free”.
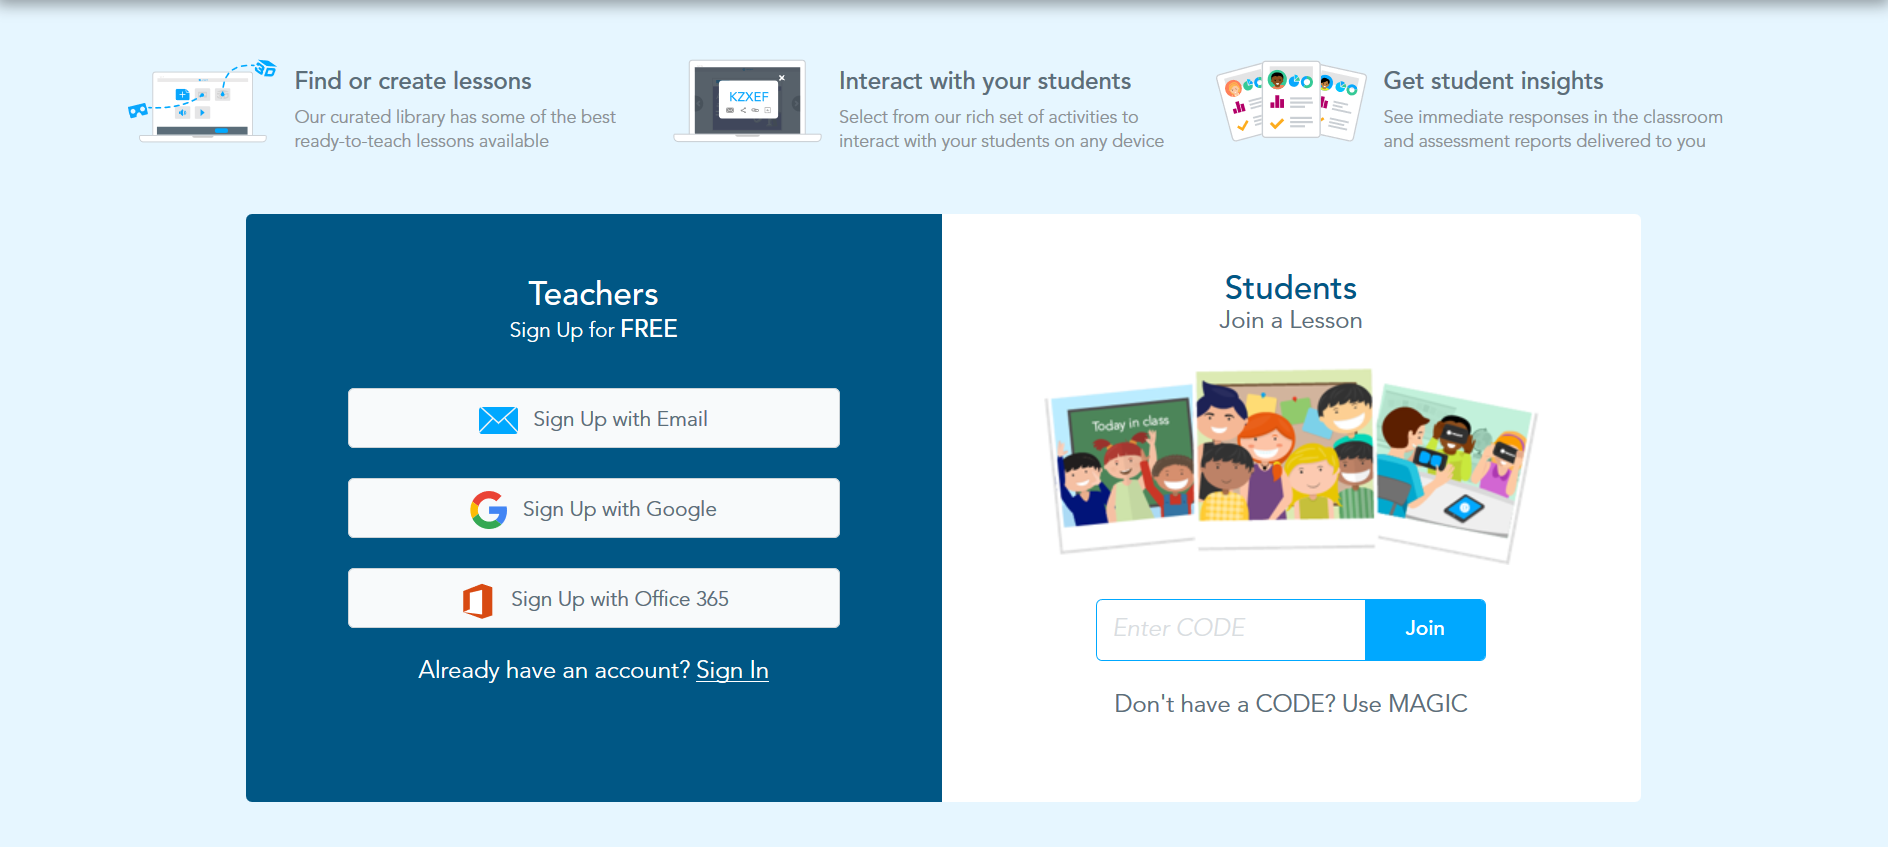
Step 2. Sign-up for a Nearpod account
You can sign up for a Nearpod account for free using your email address or linking through Google or Office 365. The sign-in instructions will ask you to determine what tier of subscription you need. Once you have included your sign in details, you can log-in to the Nearpod interface.
Step 3. Log in to the Nearpod interface
Once you have logged in, you will be taken to your personal interface. This is where you can create and locate new or existing lessons you have created.
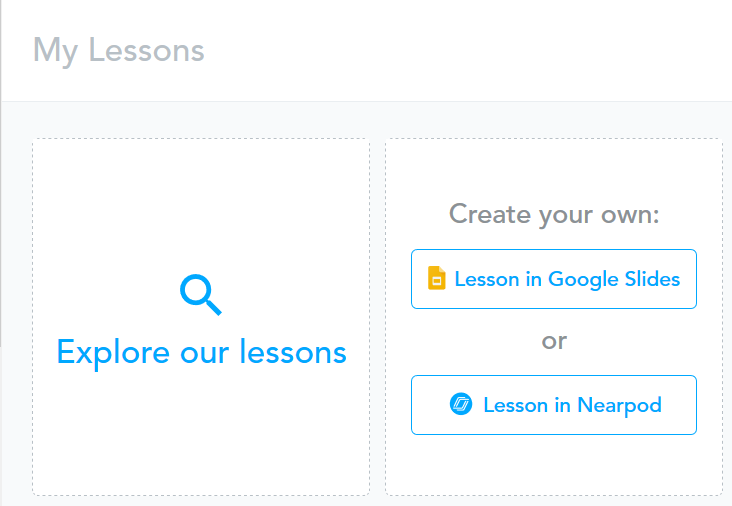
Step 4. Create a new lesson
In the middle of the page, click on “Create your own” and then select if you would like to create in “Google Slides” or “Lesson in Nearpod”. For this demonstration, we will follow the “Lesson in Nearpod” selection.
Step 5. Add content
Now it’s time for you to add content. You can do this by uploading an existing file (PPT, PDF etc.) or by creating slides within Nearpod. Both have pros and cons, but it is assumed you likely have pre-built slides at this point, so this demonstration will follow uploading files. To do so, click on “Upload Files” and select where you wish to pull your file from (computer, Google Drive, Dropbox, Box or One Drive).
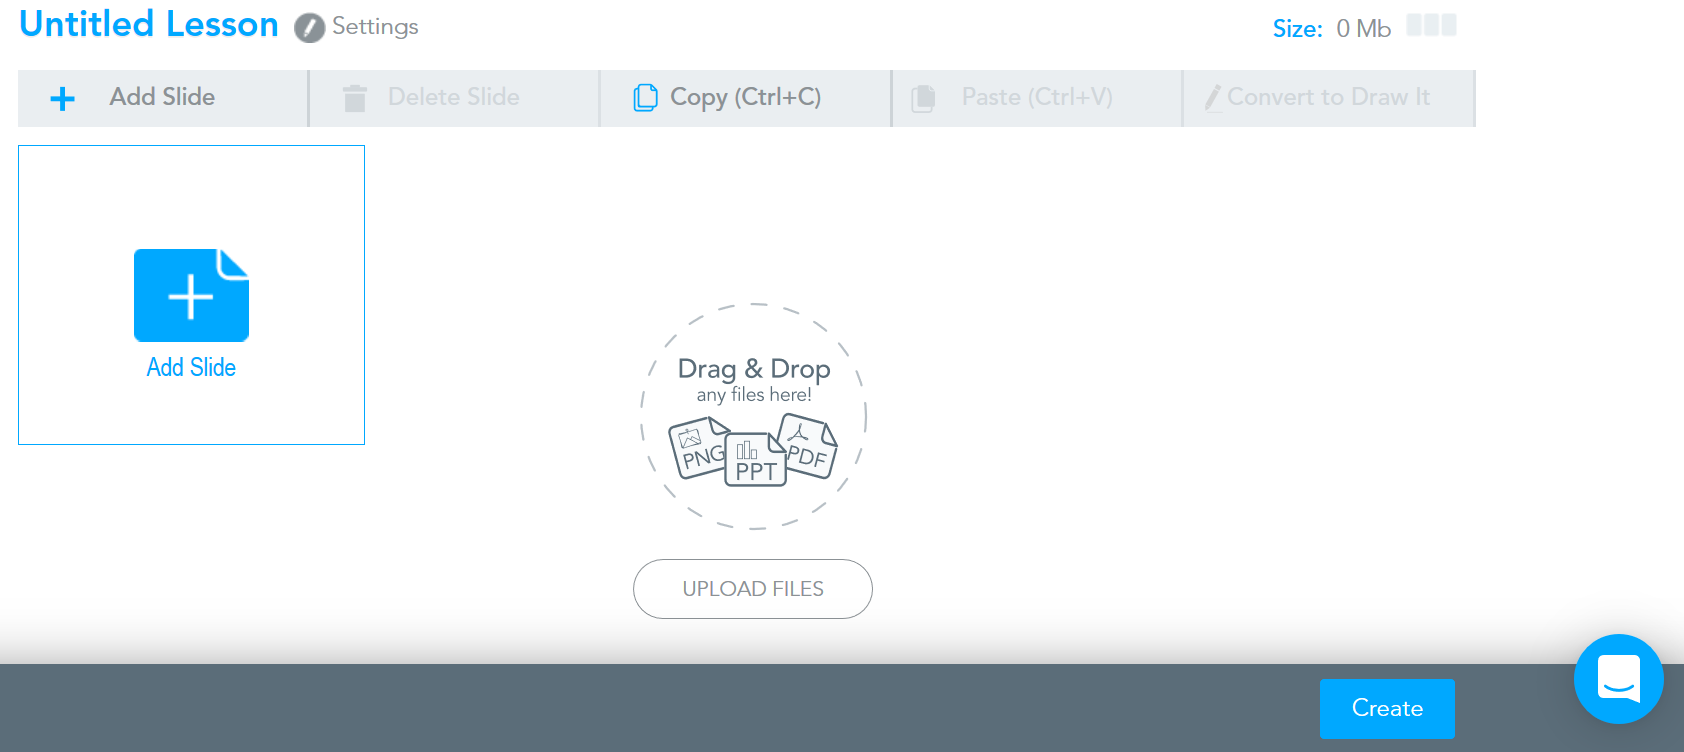
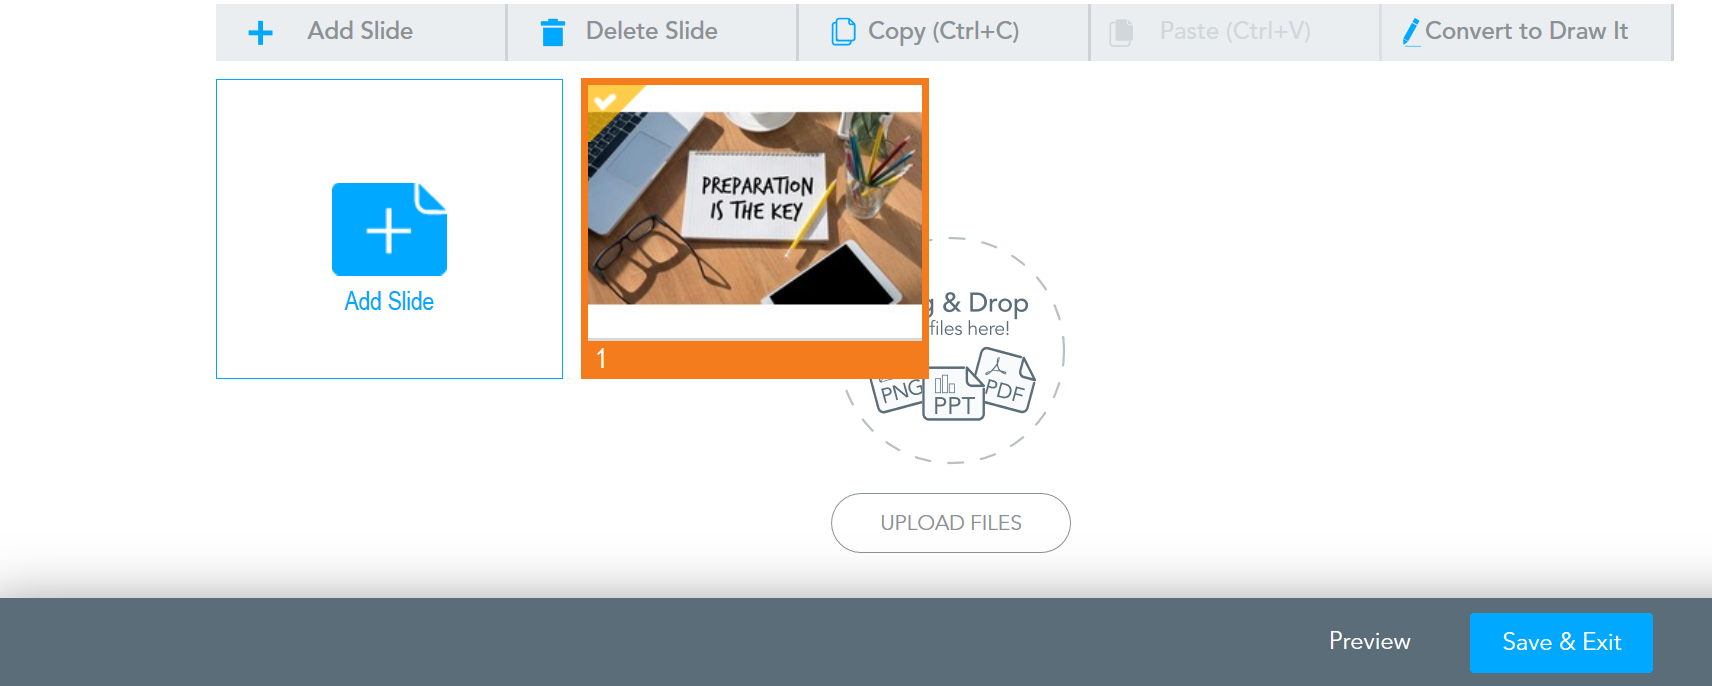
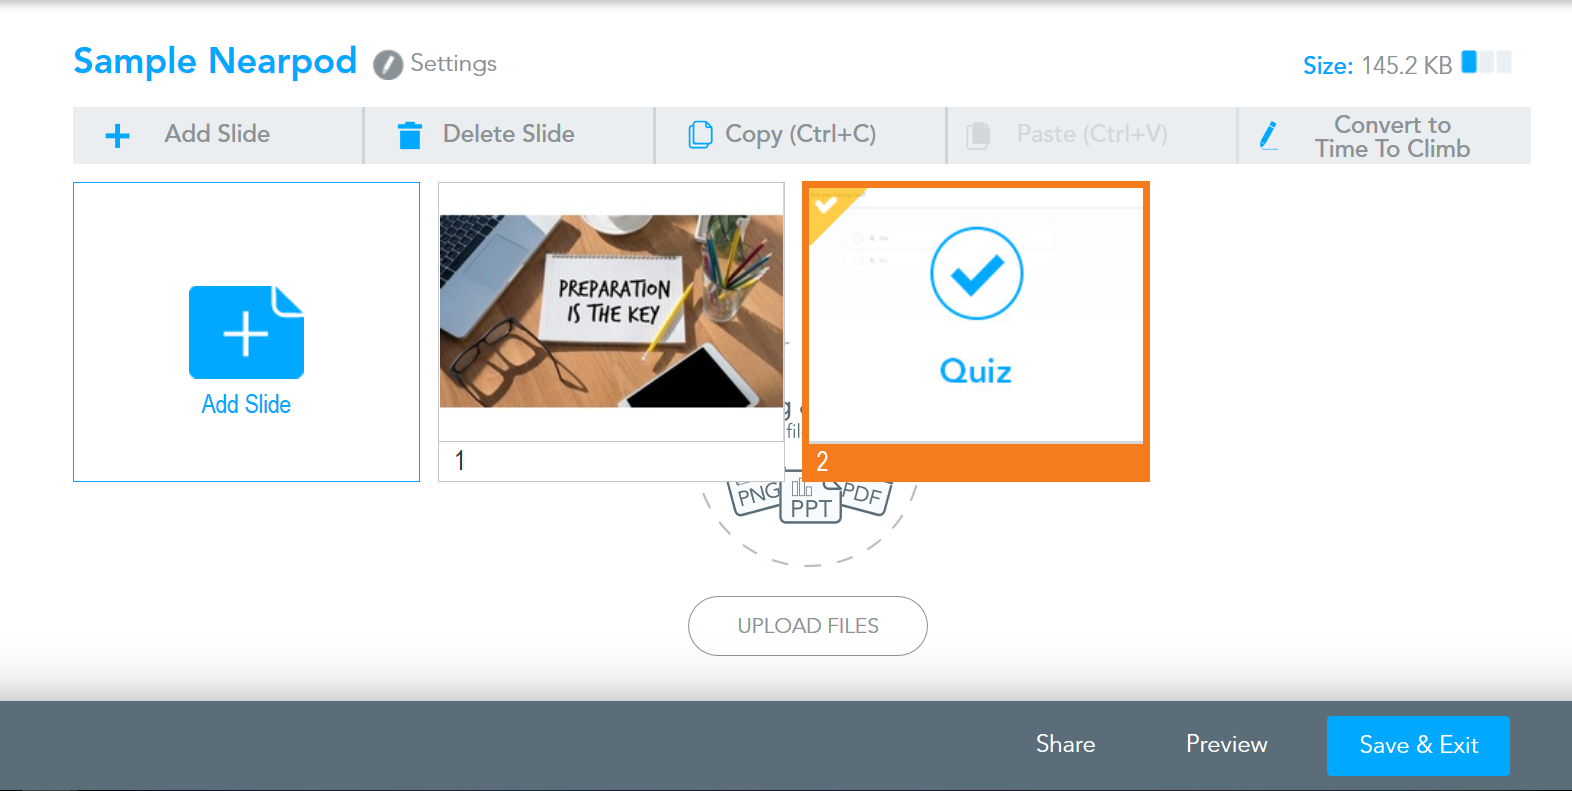
Step 6. Add an activity
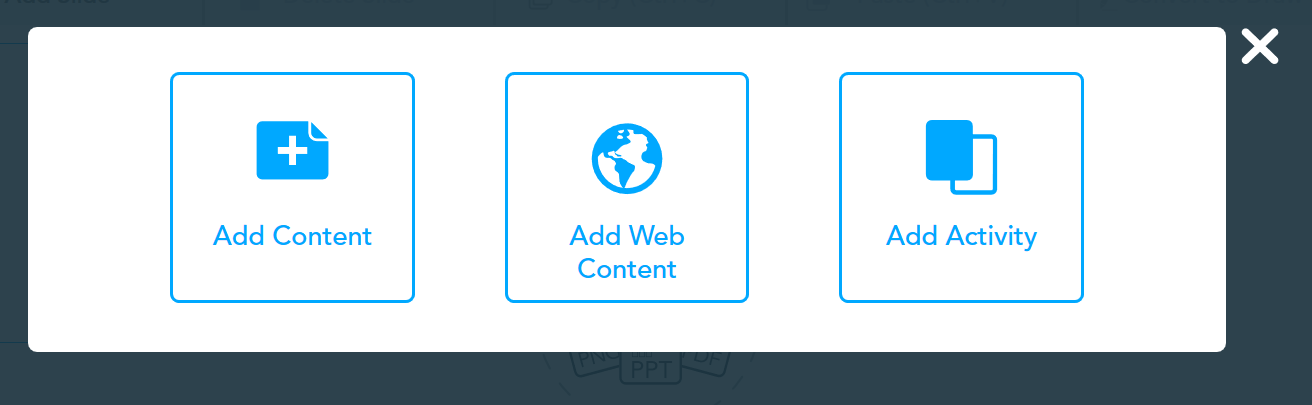
Once you have your base content slides created (whether an upload or via Nearpod), you can begin adding the engaging activities. To do so, click on any button that says “Add Slide”.
Then select “Add Activity”.
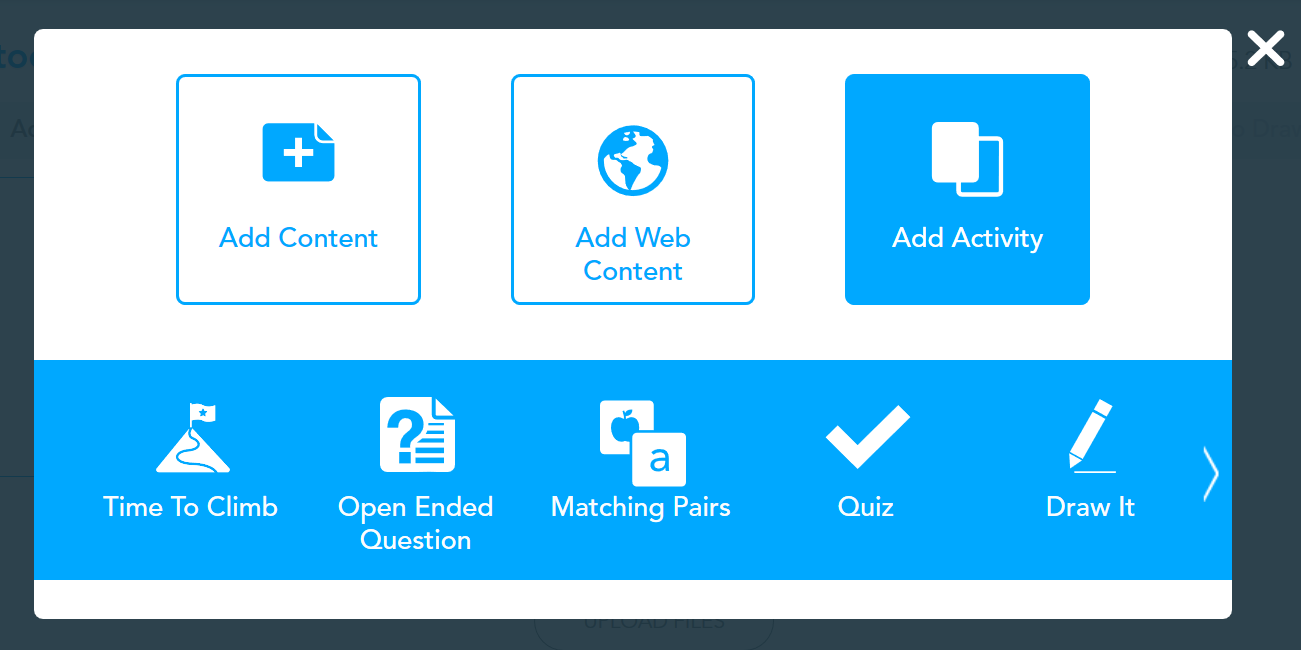
A list of the available activities will appear below the menu. Depending on your subscription level, some of these activities may not be available to you. There is also a thin white chevron arrow to the right of the activities to see more options. Select an activity (for this demonstration, select Quiz).
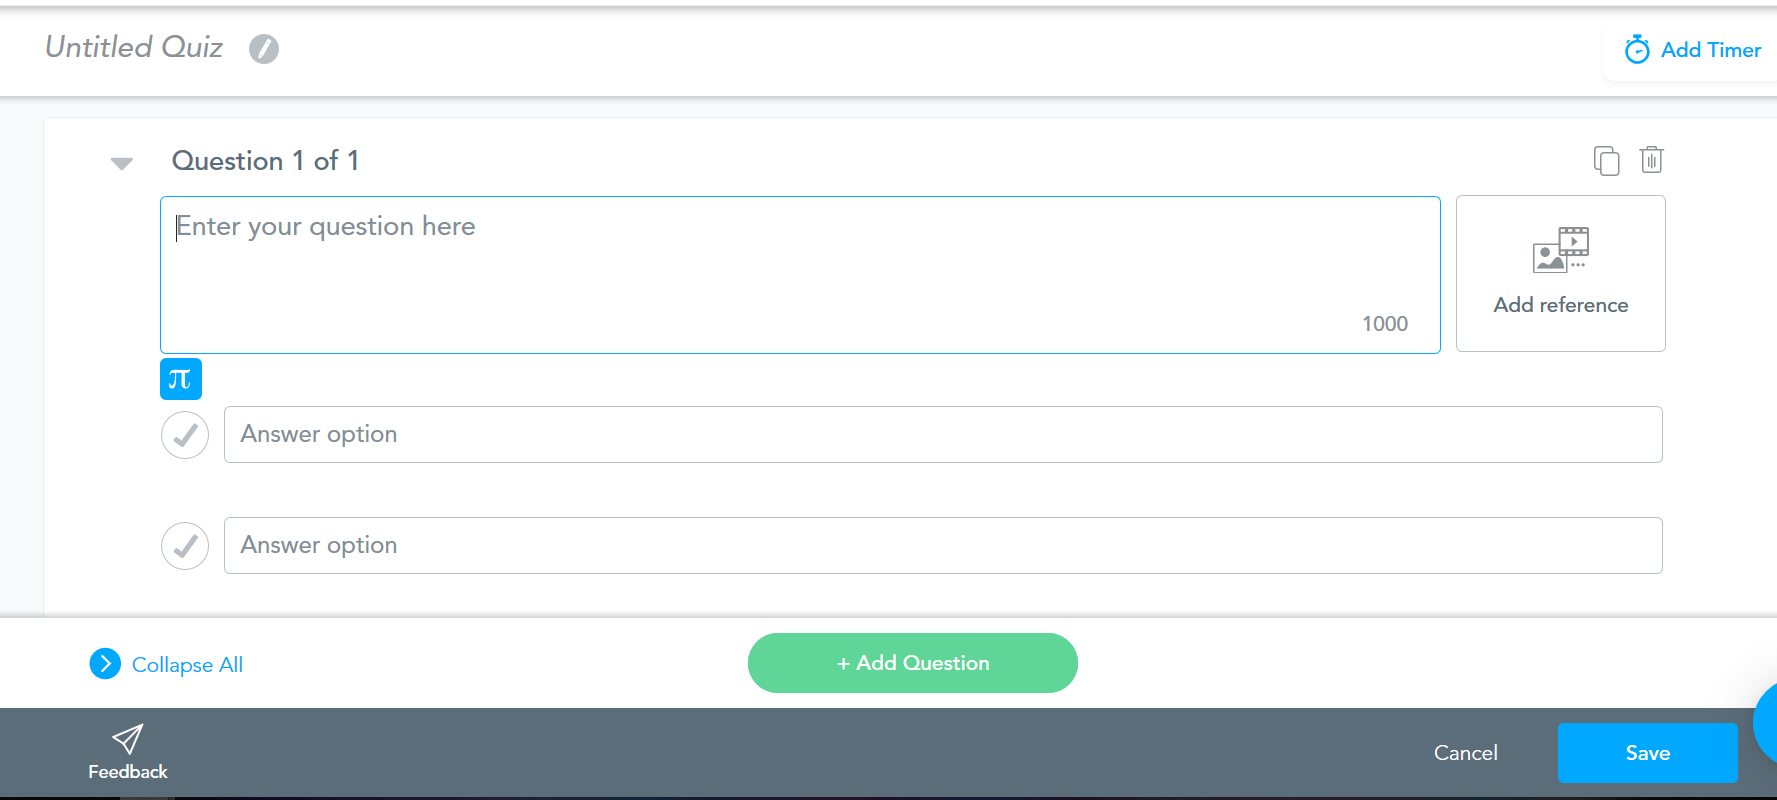
Step 7. Create your quiz content
You will be taken to a window that will ask you to fill in the quiz content, including the question, answer options, a reference (optional) and whether you want a timer. You will need to indicate which answer option is correct by selecting one of the checkmarks beside the option.
When you have finished creating your quiz, click on “Save” in the bottom right.
Step 8. Preview your presentation
Once you have all of your Nearpod activities created, you can choose to move them to the appropriate location within your presentation. Do this by clicking and dragging the tile representing each activity on the screen. You will likely want to preview your presentation prior to showing it to students. To do so, click on “Preview” next to the “Save & Exit” button in the bottom right.
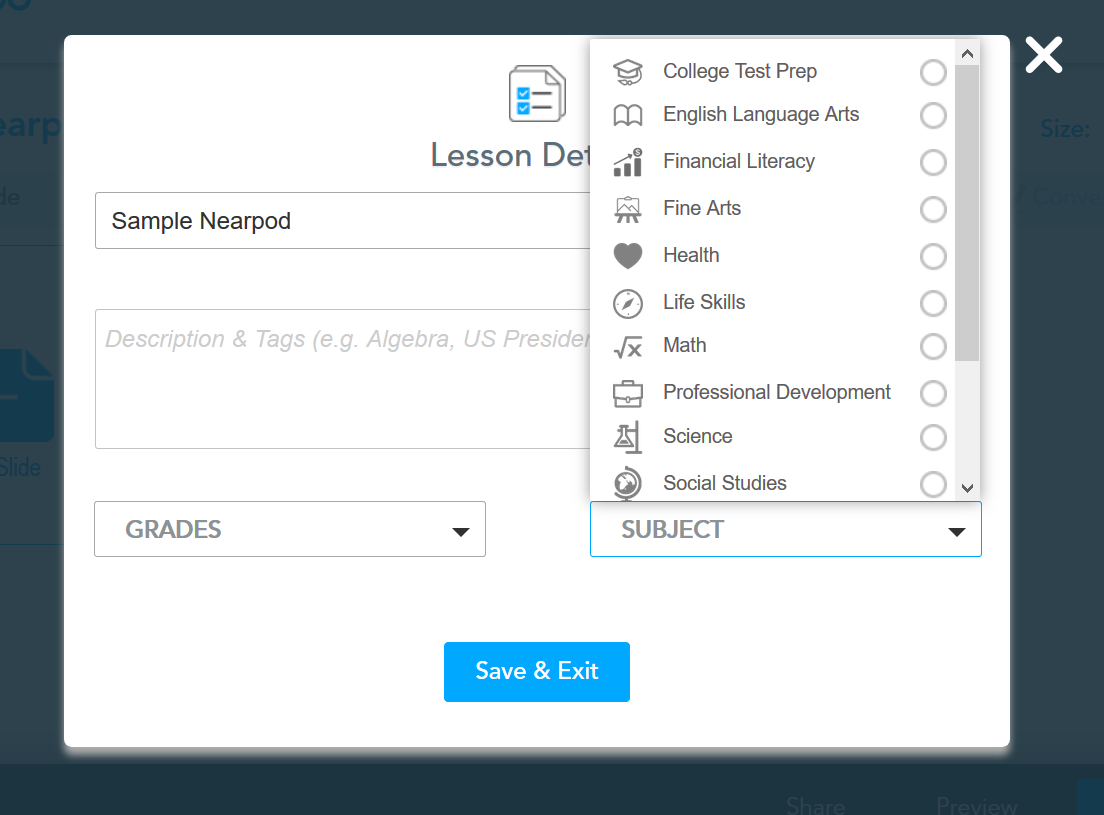
Step 9. Save your presentation
Now that you have included all of the content and activities you need for your presentation, click on “Save & Exit”. This will show you a pop-up where you can name your presentation, enter a description, include the grade it is intended for and select the subject area. These details help you to locate your lessons later on. Click on “Save & Exit”.
Step 10. Present
Your presentation is now ready for students. To present it, hover on the chosen lesson in your personal interface and select “Live Lesson” (to present it live) or “Student Paced” (to give students access on their own).
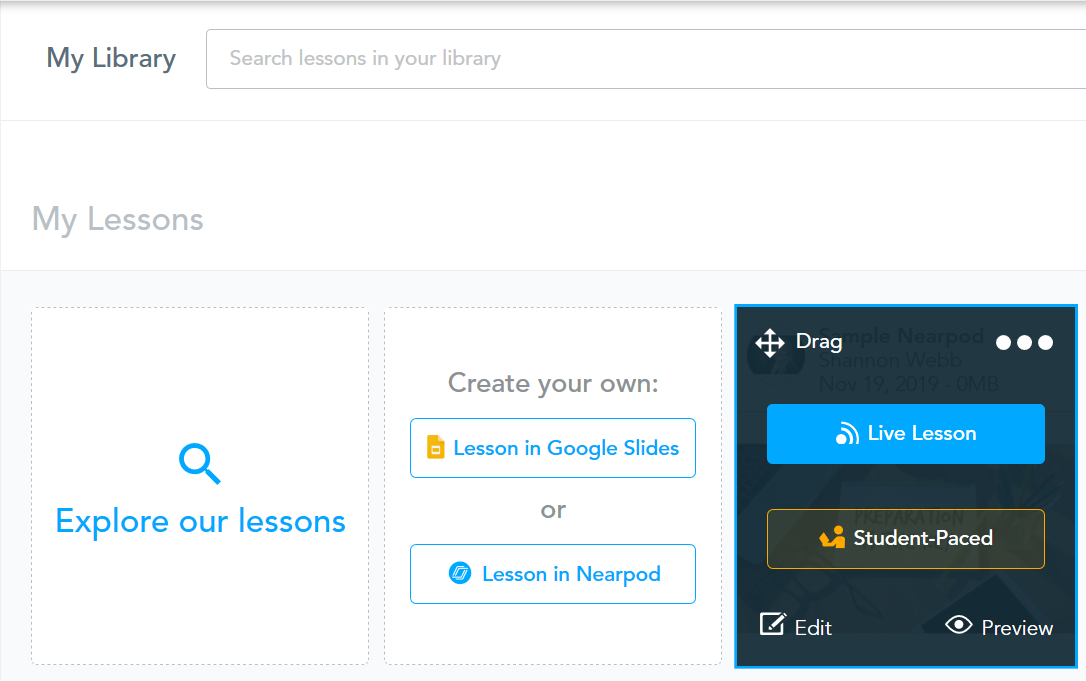
For in-class sessions, “Live Lesson” works best. Upon starting the lesson this way, you will be provided with a unique code. Students navigate to www.nearpod.com and enter in the code to join your lesson. Students do not need any login credentials of their own; they just enter in their name and join the lesson.
The presentation is controlled by you. Students cannot skip ahead to slides, giving you more control over the content they are viewing at one time. As you advance the slides, students can see and interact with the content on their own device. You will be able to see how many students have engaged and later you can also access reports on engagement, statistics and correct answers etc.
Top Tips for Success
Pick one of the above titles as appropriate. A numbered list of short statements (minimum of 3) followed by descriptions under each statement.
- Project your presentation – It is recommended that although you are giving students access to your presentation on their own personal devices, you still project your presentation on a projector screen. This allows anyone who wasn’t able to login access to the presentation.
- Use two devices to present – If you have the ability to use two devices to present, it provides you the most flexibility. It is recommended you present a student view on your presenter screen (likely connected to a computer), and to use your teacher controls from a mobile device (phone, tablet etc.). This allows you to untether from the podium, walk around and interact with your students and still provide you control of the presentation.
- Practice – As with any ed-tech tool, the more you practice and use it, the easier it becomes. Create sample lessons and practice before your students come to class using the different features.
- Explore – Nearpod does more than simply present and add short activities. There is a catalogue of pre-made lessons (typically for younger grades, but some good content exists), there are insightful reports of your students’ interactions and there are tools to help you make amazing presentations. Nearpod also has a wonderful support team and you can become a Nearpod Certified Instructor for free.
Digital resources
Author
 Shannon is the current Communications coordinator and a professor of communication and general education at Durham College. Previous to her faculty role, she worked in the teaching and learning centre (Centre for Academic & Faculty Enrichment) as a curriculum specialist, working on new program development and program review and renewal. In addition, Shannon works in developing eLearning environments, creating engaging online learning. Shannon has a B.A. in English Literature, an M.Ed. in Digital Education, is a Nearpod Certified Instructor and is currently in pursuit of the right doctorate degree. When Shannon is not reading, teaching, researching or developing learning environments, she is spending time outdoors with her husband and daughter.
