2 Using Zoom to Teach Synchronously Online
Michelle Mouton
Introduction
Zoom is a convenient tool for hosting synchronous meetings online. With the growth of computer-mediated communication, it has become easier to have virtual face-to-face interaction with others like never before. While text-based communication can be effective in certain areas, it lacks the ability to broadcast non-verbal cues such as body language, voice etc. A synchronous online interaction with video allows for immediate communication and responses to questions while building teacher and student presence.
This free and easy tool is an efficient way to connect with off-site learners in a meaningful and effortless way.
The benefits include:
- simple to use both for the teacher (host) and the learner (participant)
- ad hoc and planned meetings/lessons can be set up with very little effort
- meetings can be set up for individuals or whole classes
- one-click access to the learner via a URL
- a telephone option for audio
- interactive tools such as screen share, emoticons, and chat
- free basic package available which allows for up to 100 participants
Challenges to be aware of:
- Without a license, the host is limited to
- 40 minutes per meeting
- less administrative control
- All members require fast, reliable internet access
- Good quality microphones and speakers work best
Resources
- Zoom account (Basic Package is free)
- Laptop (preferred) or tablet with microphone and speakers
- Download free Zoom Application
Steps for Implementation
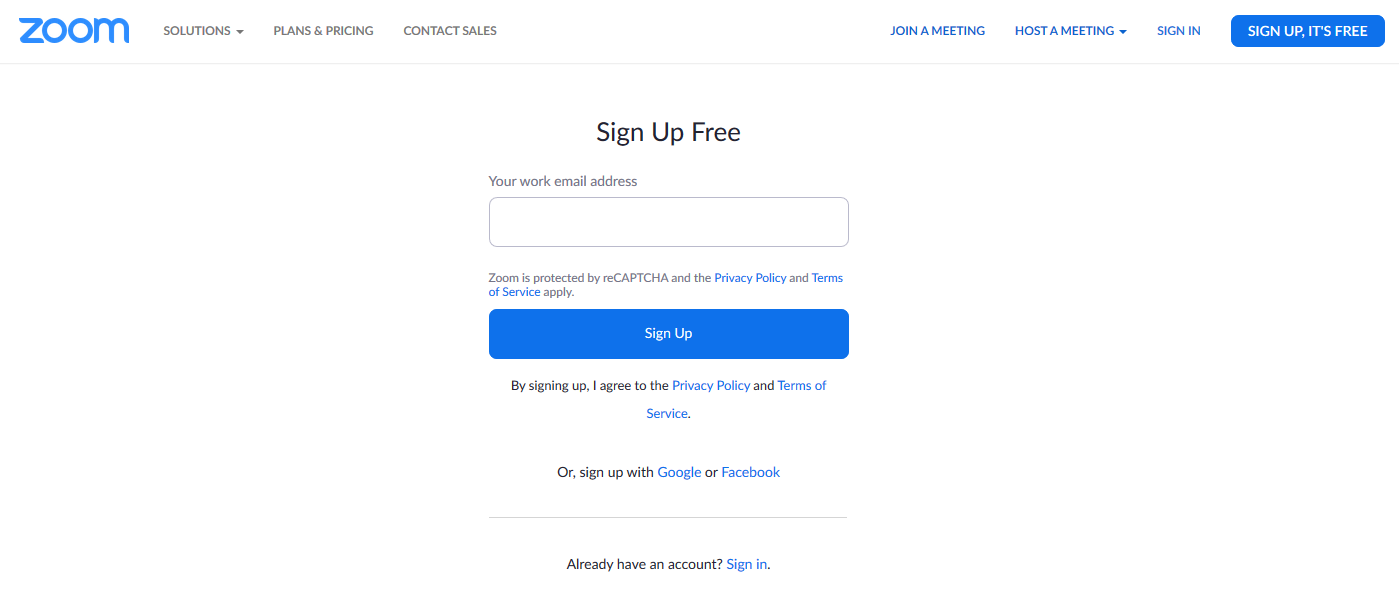
Step 01. Sign up with Zoom
Sign up for a free Basic Zoom account: https://zoom.us/signup
Step 02. Download the Zoom Application
Download the Zoom Application https://zoom.us/download Click on Download for “ Zoom Client for Meetings”. The app will launch automatically when you start your first meeting.
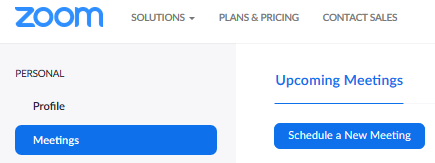
Step 03. Set up a meeting
Clicking on “Schedule a New Meeting”. Choose the options for the meeting that suit your needs. This may include video and audio defaults, muting participants on entry, and automatic recording of the session (ensure you set this up if you want to record the session – you may forget to push record when the actual meeting starts).
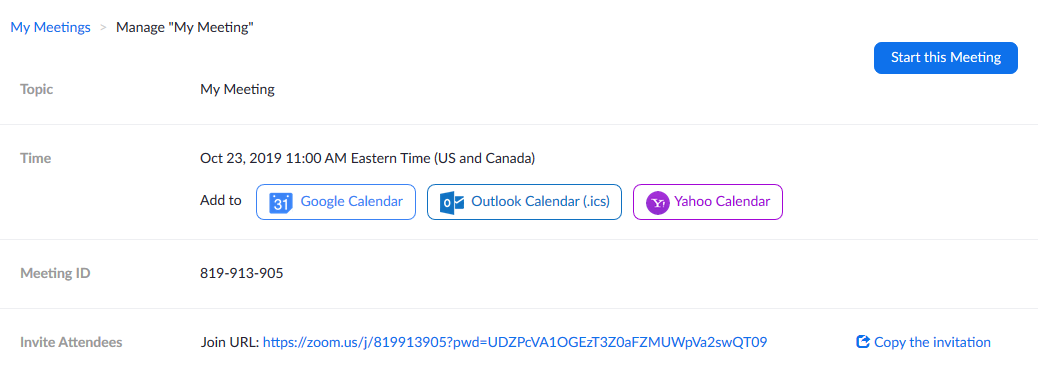
Step 04. Save & Share
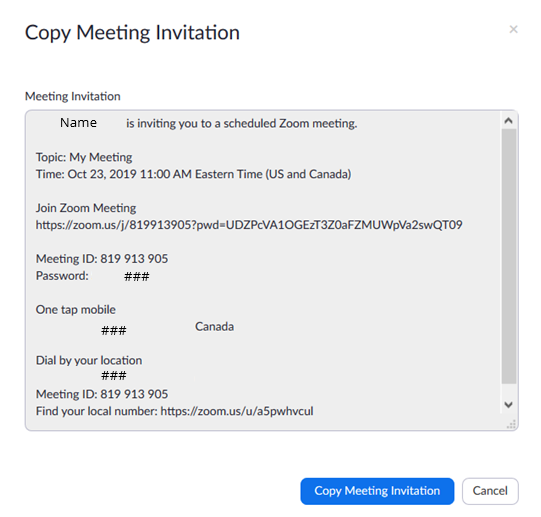
Save your meeting and then share the meeting details with participants. Click on “Copy the invitation” – “Copy Meeting Invitation”, and pasting the invitation details into an email, course platform, or another area where you want to share the meeting information.
Step 05. Starting
Start the meeting a few minutes early to complete audio check both for yourself and participants. You can start the meeting in three ways:
- Copy and paste the Zoom hyperlink that you had shared with learners into your browser (ensure that you enter under your Zoom profile. If not, use option 2 or 3)
- Log in to Zoom. Click on “Join a Meeting” and then enter the meeting ID (found within the Zoom invitation)
- Log in to Zoom. Click on “Schedule a Meeting”, “Meetings”, and click “Start” next to the meeting you want to initiate to be found under the tab “Upcoming Meetings”.
Step 06. Host the meeting
There are various functionalities you can use while hosting the meeting. They include:
- Share Screen. You can share your screen to demonstrate software, websites, video etc.. You can also give a participant rights to share their screen.
- Chat. There is a chat function so that participants can send text messages throughout the meeting, either to the group as a whole or to specific individuals.
- Symbols. You can get non-verbal cues from participants with button symbols (found under the icon “Manage Participants” that include “
Thumbs Up”, “Yes”, and “No” - Mute. You can mute and unmute participants and yourself as needed.
- Video. You can switch video on and off as required.
- Breakout Rooms. You can create breakout rooms for smaller discussions, either manually or automatically allocating learners into groups.
Step 07. End the meeting
thank all participants, but plan to stay a few minutes later in case anyone has questions. Once you are done, click “
End Meeting ” and then “End Meeting for All ”. If you had recorded the meeting, don’t shut your computer down – it is rendering the video. Wait for a pop-up on your computer (or click on the Zoom icon on your computer’s navigation bar when it appears) to ask you where to save the recording.
Step 08. Save and share recording and chat as applicable.
There will be 3 files from the recording:
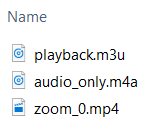
If you want to share the full video with audio (.mp4 file), it is suggested that you upload it to a free platform such as Screencast or YouTube, and then share the hyperlink with students.
Dealing with Challenges
- Internet or power goes out – This is hard to mitigate as you may be left without a way to contact students to advise them of the problem. If you host the meeting in an area that has inconsistent or slow internet, you may want to find another location that is reliable.
- Learners with inadequate bandwidth – Learners may have difficulty if they are connecting with a very limited internet connection. Before the meeting, ensure you advise students to join the meeting with reliable internet.
- Learners with inadequate microphones – Learners may be hard to hear when they talk if their microphones are of low quality or not connected correctly. Advise those students to mute themselves and rather use the Chat function to share their ideas.
- Background noise – It is fairly certain that you will have a few students that leave their microphones on while you or others are talking, and background noise may be distracting. As the host, you can mute any participants as needed. Ensure you advise students at the beginning of the meeting that you will do this and why.
- Control layout changes when you share your screen – Your video thumbnail will move to the edge of your screen (you can then drag it to a location of your choice). The general navigation bar will be hidden above the “Stop Share” button (located at the top of your screen – it will reveal when you hover your mouse in that area).
- You cannot share files (e.g. upload documents) – It is suggested you create another shared location for this purpose. An option would be to create a folder in Google Drive and share that URL in the chat. All files can then be located in one organized area.
Further Reading
Childs, E., Gerbrandt, J., & Awwadah, K. (2018, June). Exploring social immediacy/intimacy in fully online learning communities through synchronous tools. In EdMedia+ Innovate Learning (pp. 2138-2141). Association for the Advancement of Computing in Education (AACE).
Author Bio